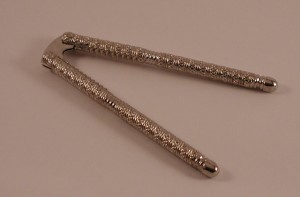
While working on some of my future blogs, I decided I want to include some pictures of these items. In the past when I’ve taken close-up pictures of objects, they’re usually outside; for instance flowers. However, when I’ve taken inside pictures, they don’t look quite so nice. Usually the lighting is off or too strong. It never looks quite right.
To avoid the lighting issue, I decided to update my photo equipment. No, I haven’t found my affordable dream camera yet. I’m still looking for that one. I didn’t want to spend a lot of money either. So, I opted for a low-tech solution. I did some research on the internet and found sites that show how to create a macro photo studio or photo light box.
Strobist: How To: DIY $10 Macro Photo Studio
How to Make an Economical Photo Light Box
Fortunately, I had an old moving box in the garage, so I was able to make the frame. I cut out the sides & top. I used Gorilla Glue to reinforce some of the seams.
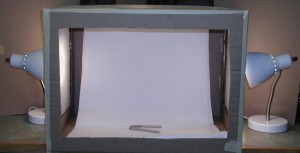
Instead of using tissue paper I used white butcher/parchment paper. I mask taped the paper to the box. I didn’t have the poster board for the back so, I took the butcher paper and doubled up, then taped it to the top back of the box.
I plan to open up the front bottom of the studio to allow poster board to slide in & attach to the top. I read a suggestion in the Economical Photo Light Box to velcro the poster board to the top back of the box. This makes a lot of sense.
Comments
One response to “Macro Photo Studio 1.0”
[…] photo studio modifications Last month, in my blog “Making my own Macro photo studio“ I mentioned a few changes I would make to my studio and environment to improve the macro […]