A while ago I posted “Macro Photo Studio 1.1” I mentioned some modifications I wanted to make for Revision 1.2 of Macro Photo Studio. The main issue I was experiencing was a brownish hue showing up in pictures taken with the Macro Photo Studio. It turns out, it was the reflection off the cardboard.
I implemented the most essential changes first. I’m calling this change revision 1.1.1. Essentially the the resolution was to apply white paint to the interior floor and walls of the macro studio to increase the reflectivity of the light source.
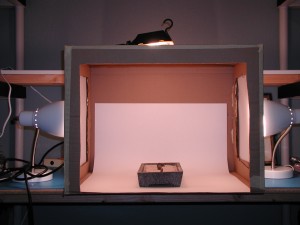 Macro photo studio 1.1 |
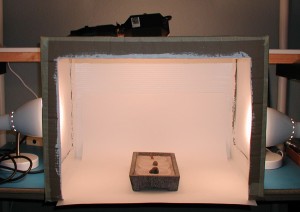 |
My Zen Garden photos
I took a few comparison shots to see how well this modifications did.
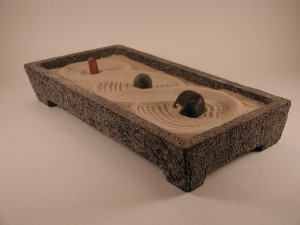 Zen Garden (Angle shot) |
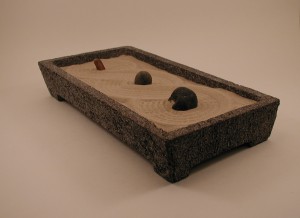 Zen Garden 1.1.1 (Angle shot)
|
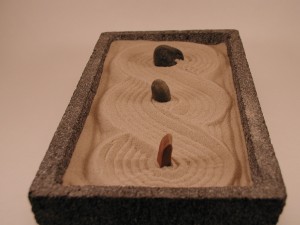 Zen Rock Garden (Straight shot) |
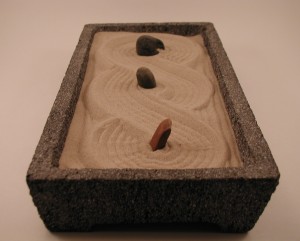 Zen Garden 1.1.1 (Length shot) |
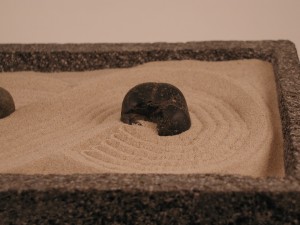 Round Rock 1.1 |
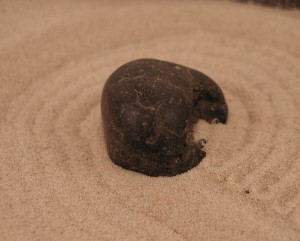 Round Rock 1.1.1 |
Zen Garden Test results
-
The test was successful, the lighting improved.
-
The brown hue disappeared.
Planned Modifications for Macro Photo Studio revision 1.2:
-
Remove the back wall, so the studio can be rotated 90 degrees for taller objects.
-
Make side and top light diffuser walls into configurable light diffuser panels so change to light diffusing material can be made as needed.
-
If necessary add reinforcement to replace strength lost in removal of back wall and
Final thoughts:
-
The differences in lighting would have been more effective if the scene was recreated exactly as before
-
Better staging = better before and after pictures
-
Keep track of the stage placement
-
Keep track of the light source(s)
-
Keep track of the camera placement
-
-
Test objects should maximize visual levels of color and contract
Are you enjoying the progress? Are there any other macro pictures that would be more interesting? Has this been helpful?
